(originally published on Medium)
I like writing React code. This might be an odd introduction to a story about Vue, but you need to understand my background to understand why I’m here discussing Vue.
I like writing React code and I hate reading it. JSX is a neat idea for assembling the pieces together fast, Material-UI is amazing solution for bootstrapping your next startup’s UI, computing CSS from JS constants allows you to be very flexible. Yet reading your old JSXs feels awful – even with scrupulous code review practices you might scratch your head not once as you try to figure the intricate nesting of the components.
I’ve heard many things about Vue—the not so new kid on the block—and I finally decided to get my feet wet; bringing in all my mental luggage of React and Polymer (and Angular, but let’s not talk about that).
Vue is very much like Polymer, more so the authors name it as one of the sources of inspiration. The structure of *.vue files seemed like the best parts of Polymer and I dove straight in. A few days later I crawled out of the swamp of typescript, UI driven development and numerous best practices and I’m ready to share what I’d found.
Let’s go!
We’ll use npx to run the commands. If you don’t have npx yet here’s how to get it: npm install -g npx. Npx is a life saver when you deal with npm cli packages and don’t want to npm install -g dozens of apps. You will also need Yarn if you don’t have it—npm install -g yarn should get you up to date.
$ npx vue create not-a-todo-app

Vue CLI v3.3.0
? Please pick a preset: Manually select features
? Check the features needed for your project: Babel, TS, PWA, Router, Vuex, CSS Pre-processors, Linter, Unit, E2E
? Use class-style component syntax? Yes
? Use Babel alongside TypeScript for auto-detected polyfills? Yes
? Use history mode for router? (Requires proper server setup for index fallback in production) Yes
? Pick a CSS pre-processor (PostCSS, Autoprefixer and CSS Modules are supported by default): Sass/SCSS
? Pick a linter / formatter config: TSLint
? Pick additional lint features: (Press <space> to select, <a> to toggle all, <i> to invert selection)Lint on save
? Pick a unit testing solution: Jest
? Pick a E2E testing solution: Cypress
? Where do you prefer placing config for Babel, PostCSS, ESLint, etc.? In dedicated config files
? Save this as a preset for future projects? No
Vue Cli has a nice wizard to guide you through; for this tutorial we’ll use the manual mode and enable all the features. Overkill? Maybe, but we want to see how Vue works with everything it can provide out of the box. Still, let’s look into the options and reason on how and why.
We need both Babel and TypeScript enabled. TS will be the primary language of choice and Babel will support handling external code that requires transpiling. You might argue that TypeScript can transpile JS code too and indeed that’s the case but in my experiments (especially related to unit testing and Vuetify) I figured it’s much better to keep TS for *.ts and use Babel for everything else.
CSS Pre-processors will come in handy for Vuetify; while it comes with pre-minified CSS you might want to include the original styl files to work with styles. Linter / Formatter is an obvious requirement for any new project (you must adhere to a single code style and you can thank me in a year when you’ll be reading your old code). We enable both Unit Testing and E2E Testing—while you might not want to do the full e2e test cases it’s useful to know how to fix those after we’re done with Vuetify.
Progressive Web App (PWA) Support, Router, and Vuex are not strictly required for this tutorial and we won’t use those but enabling those will simplify your life in a real project.
Use class-style component syntax? Yes. Classes make code slightly bulkier but more readable and easier to reason with; they also make your TypeScript life easier.
Use Babel alongside TypeScript for auto-detected polyfills? Yes. We want both Babel and TS for the case we’ll look into later.
Use history mode for router? Yes (but YMMV). We won’t write any backend to serve this in production but it’s generally a good idea to use history API.
Pick a CSS pre-processor (PostCSS, Autoprefixer and CSS Modules are supported by default): we will only use CSS modules in this tutorial, so you’re free to pick sass/less/stylus based on your preferences.
Pick a linter / formatter config: TSlint is an obvious choice as we want to use TypeScript as much as possible.
Pick additional lint features: Enable both (a). Linting is good.
Pick a unit testing solution: this tutorial focuses on Jest so you must select it.
Pick a E2E testing solution: this tutorial focuses on Cypress.
Where do you prefer placing config for Babel, PostCSS, ESLint, etc.? Don’t you think it’s kinda odd everyone tries to cramp even more things into package.json? The file’s barely readable the way it is now. Use dedicated config files—they are much easier to work with and your git history will be prettier.
Time to verify the setup, run yarn serve:

There should be no errors in the console and navigating to http://localhost:8080/ will greet you with:

Verifying unit tests work, run yarn test:unit:

And e2e test work (yarn test:e2e --headless):

Great! Moving on to UI.
The material dilemma
There are a few Material UI libraries for Vue at a different level of flexibility and polish. Surely there are dozens of other component libraries so you’re free to use Bootstrap Vue if you feel like it. This tutorial focuses on Vuetify for a number of reasons:
- it’s the most starred Material library on GitHub;
- it was a royal pain to make it work so it’s a great demo of all the edge cases you can trip into.
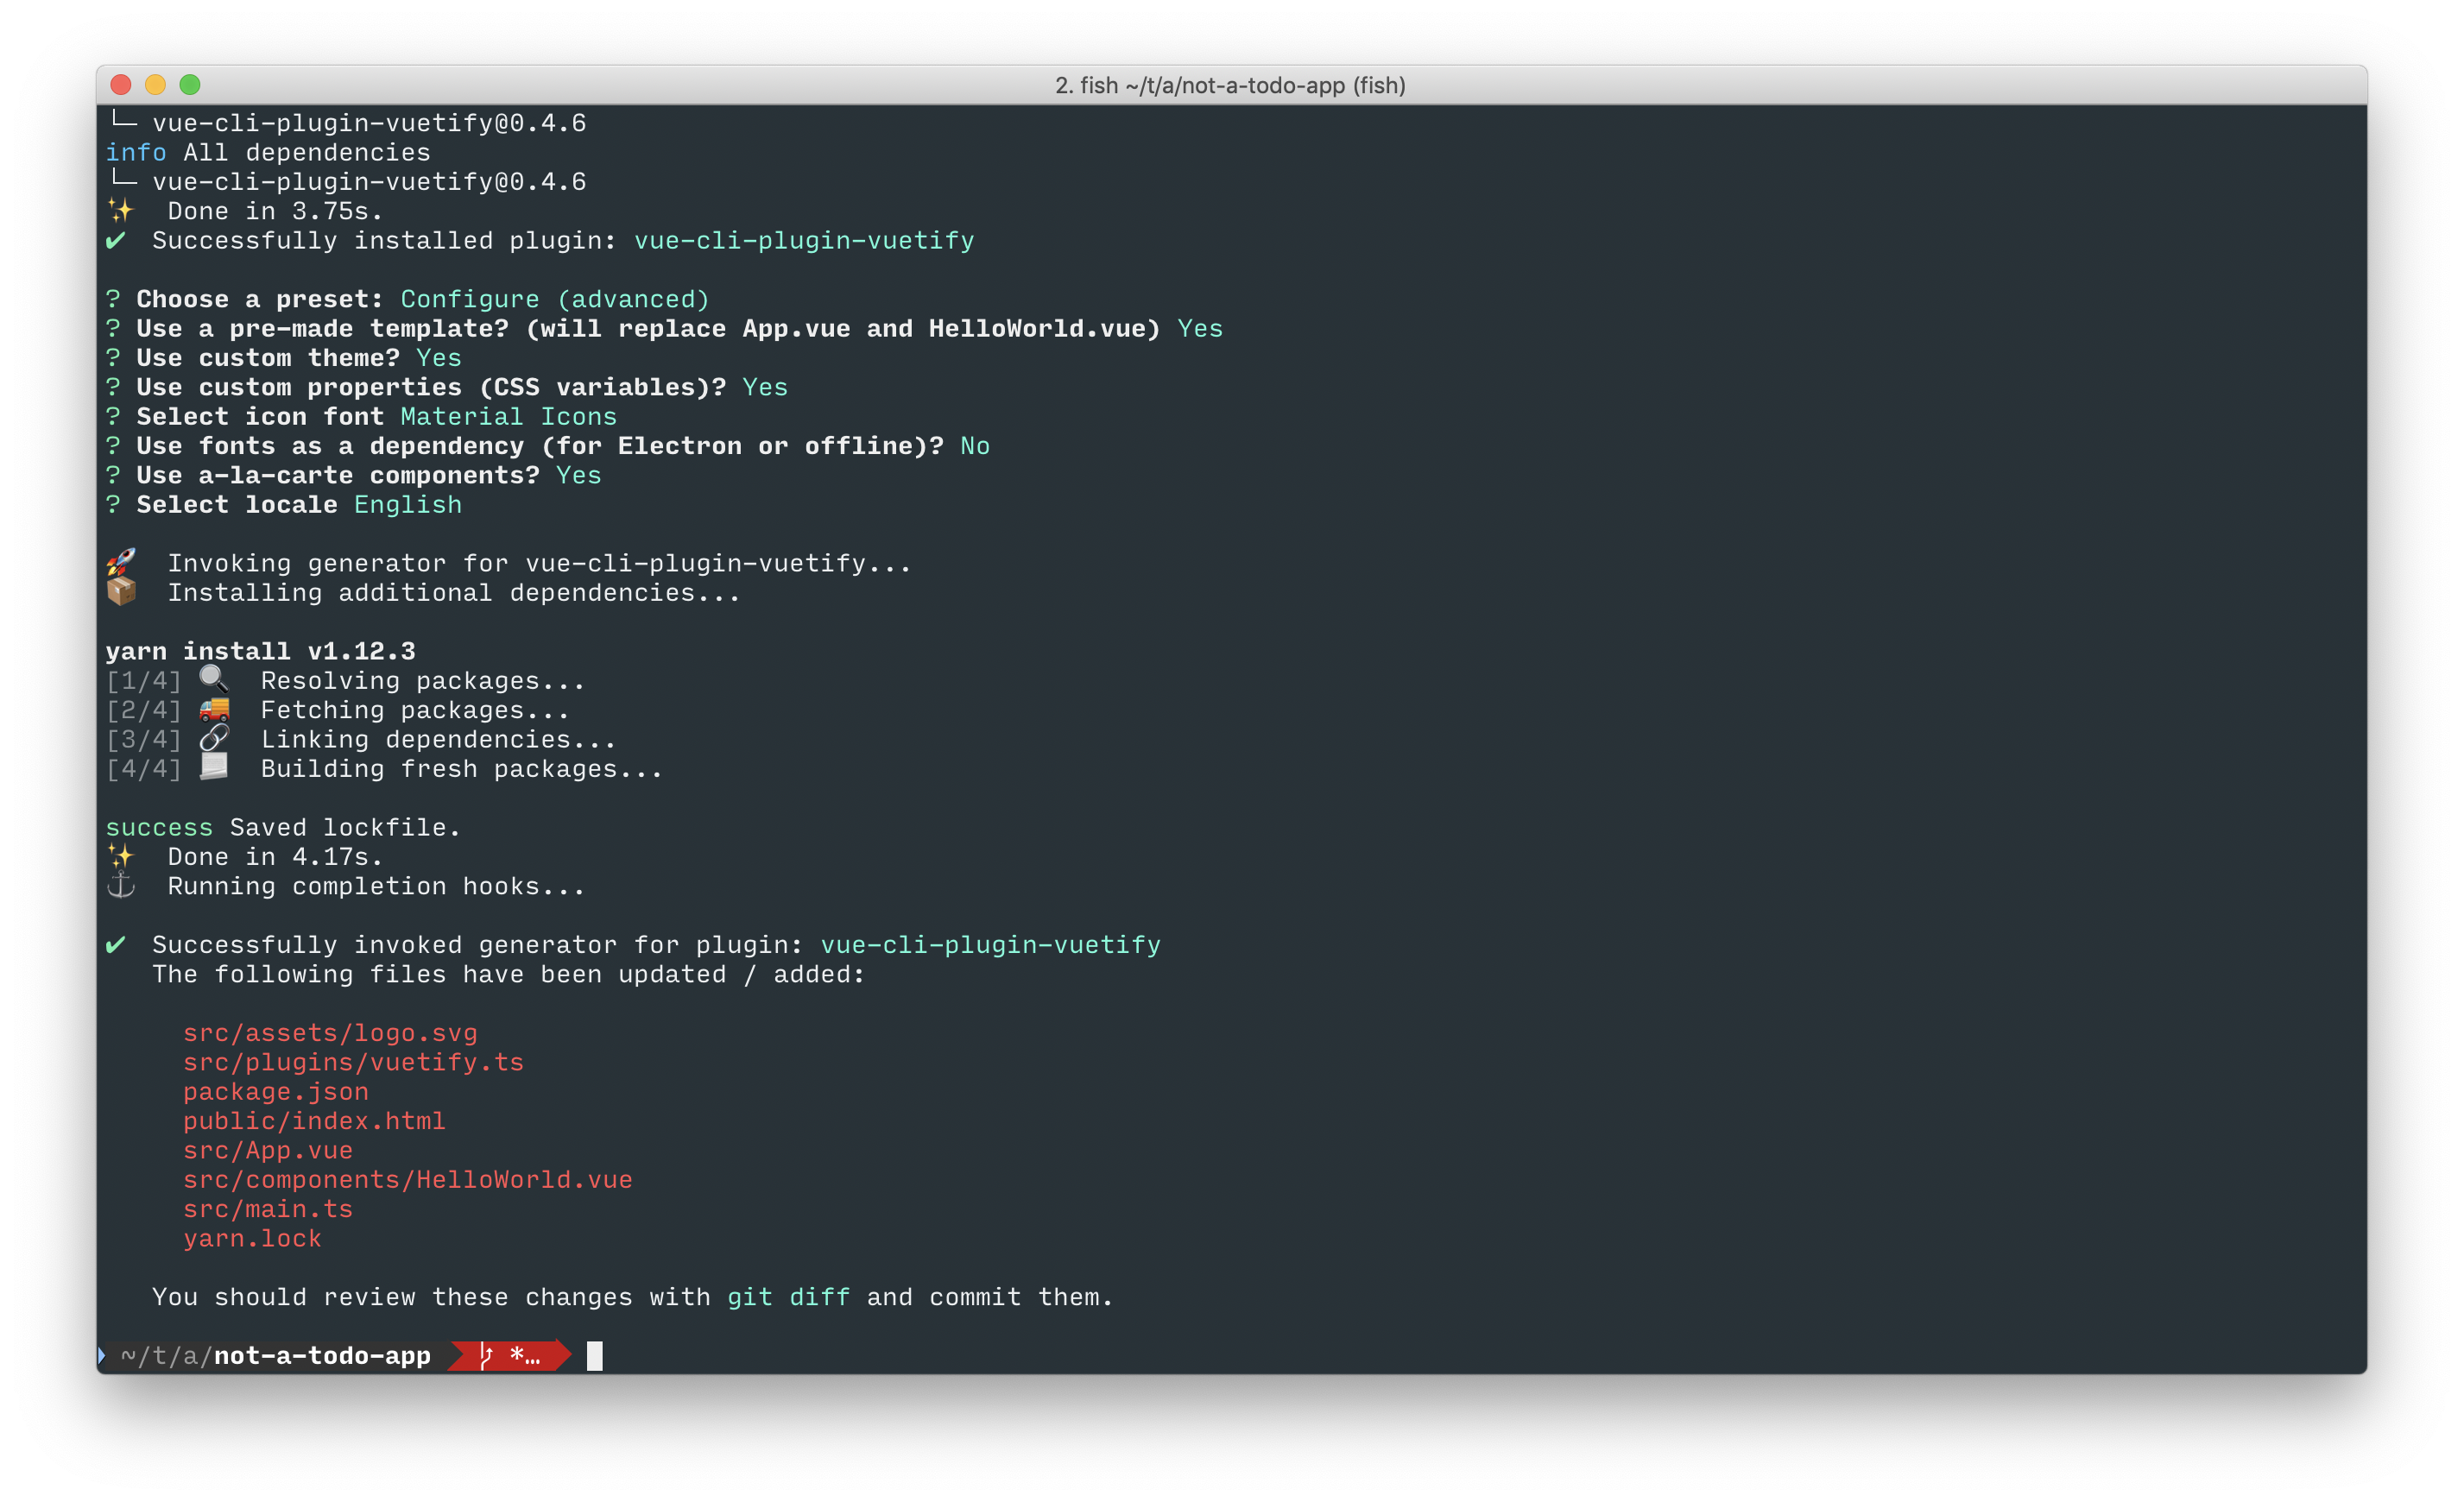
Convinced? Proceed with the install then: vue add vuetify. Select the Configure (advanced) option.
Use a pre-made template? Vuetify will override default App.vue and HelloWorld.vue. Answer yes to this as it’s a new project.
Use custom theme? Yes. You’ll need one sooner or later anyways so let’s have it configured. For the same reasons answer yes to Use custom properties (CSS variables)?.
Select icon font: Material Icons (but I’ll show you how to fix it for Font Awesome later, too). Use fonts as a dependency? No. We’ll get the fonts from CDN.
Use a-la-carte components? Yes. This seems to be the easiest way to use Vuetify.

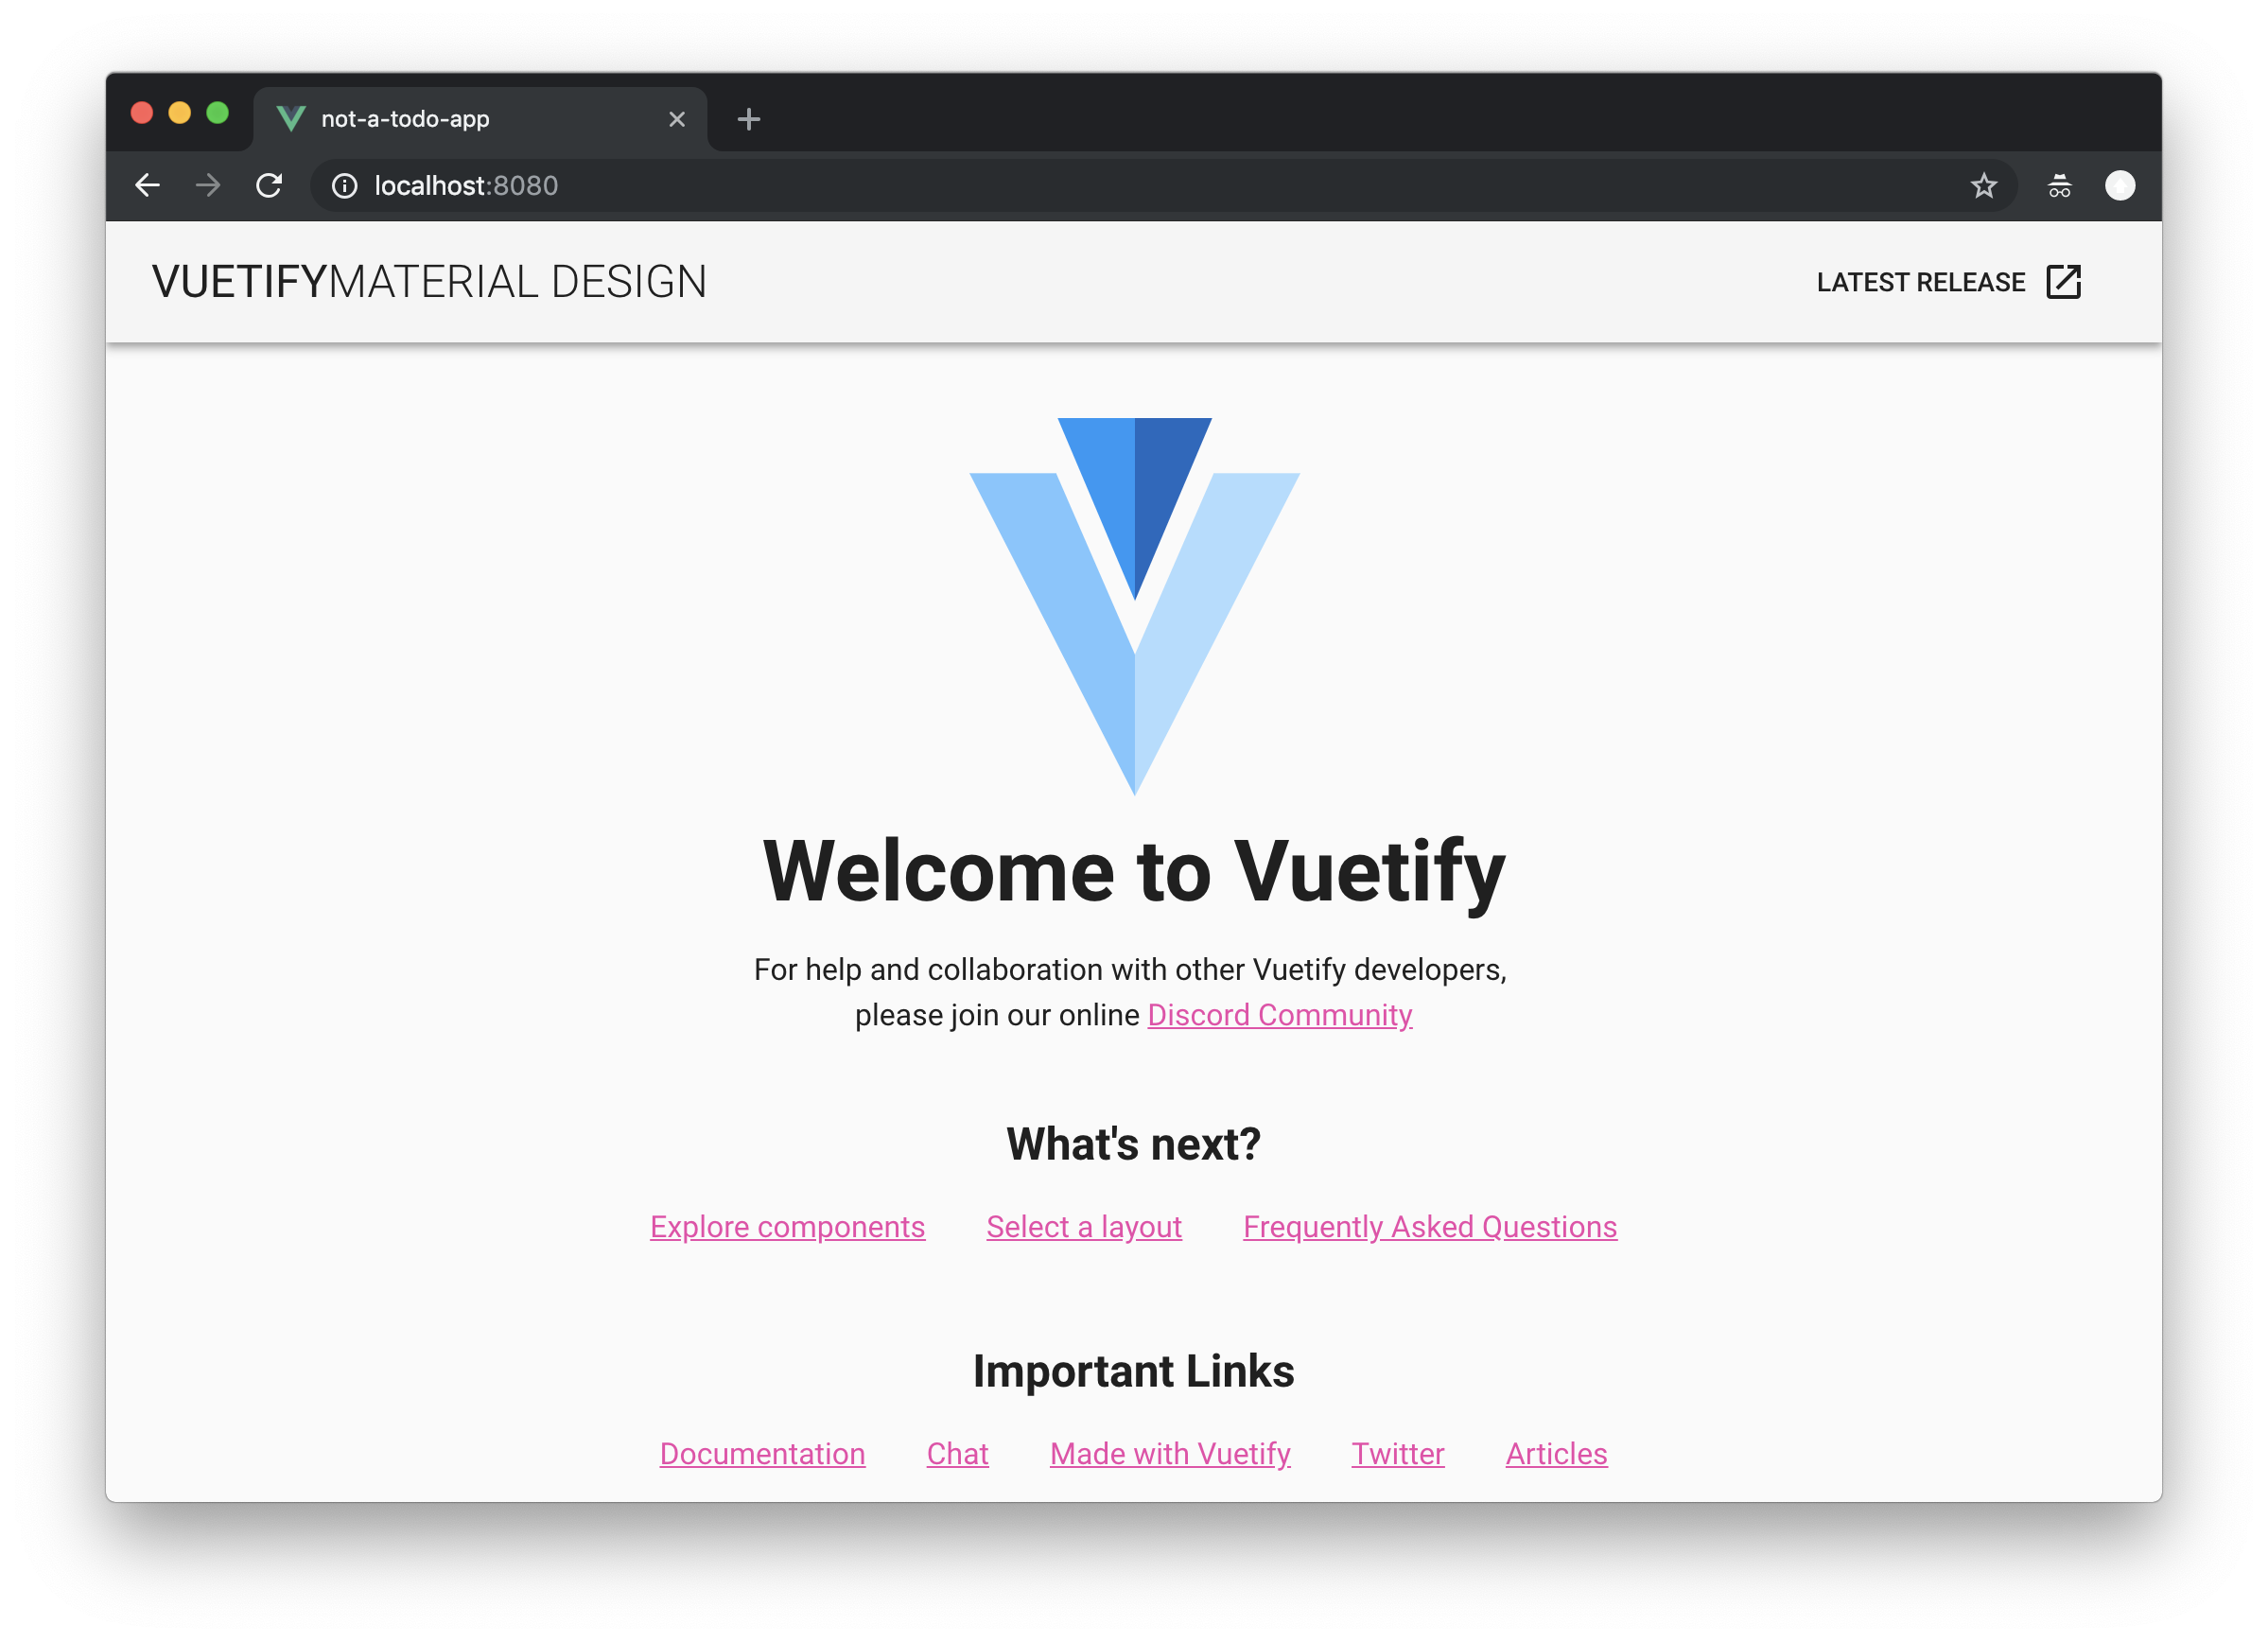
There’s a bunch of changes but most importantly when you run yarn serve now you’ll see a different picture:

(you’ll also get a couple dozen warnings from your linter).
Let’s check the unit tests…

Making Vuetify work with unit and e2e tests
Let’s check ./tests/unit/example.spec.ts. The test verifies msg displays “new message” but the template that comes with Vuetify no longer supports this prop. In a real world situation you’d remove both the HelloWorld component and its test but in here we update the message to look for something that is in the component:
const msg = 'Welcome to Vuetify';Now the test passes (verify with yarn test:unit) but there’s still a good dozen of warnings similar to
[Vue warn]: Unknown custom element: <v-layout> - did you register the component correctly? For recursive components, make sure to provide the "name" option.The way Vuetify works it adds ./src/plugins/vuetify.ts that configures Vuetify as part of the application. This file is sources from ./src/main.ts. Unfortunately main.ts is skipped when you run unit tests.
First thing first, let’s fix the errors and warnings within the generated vuetify.ts.
Open your ./tsconfig.json and add vuetify to the compilerOptions.types section:
    "types": [
      "webpack-env",
      "vuetify",
      "jest"
    ],
This tells TypeScript compiler where to get Vuetify types from and the error in ./src/plugins/vuetify.ts goes away. Let’s fix a few style warnings to clean it up:
import Vue from 'vue';
import Vuetify from 'vuetify/lib';
import 'vuetify/src/stylus/app.styl';

Vue.use(Vuetify, {
  theme: {
    primary: '#ee44aa',
    secondary: '#424242',
    accent: '#82B1FF',
    error: '#FF5252',
    info: '#2196F3',
    success: '#4CAF50',
    warning: '#FFC107',
  },
  customProperties: true,
  iconfont: 'md',
});
Now we need to load Vuetify in the context of our unit tests. Create a new file at ./tests/jest-setup.js with the following content:
import '@/plugins/vuetify';and update ./jest.config.js to load it:
module.exports = {
  ...

  setupFiles: ['./tests/jest-setup.js'],
}
The tests still fail but in a rather cryptic way. What happened?
vuetify/lib is an unprocessed raw source of Vuetify which includes things like ES modules. Jest runs transformations only for your source code by default, which means it ignores everything in node_modules. More so, given we told Vue to use TypeScript the jest isn’t configured to transpile JS.
To fix this we need to make two changes to ./jest.config.js:
module.exports = {
  ...

  transform: {
    '^.+\\.vue$': 'vue-jest',
    '.+\\.(css|styl|less|sass|scss|svg|png|jpg|ttf|woff|woff2)$': 'jest-transform-stub',
    '^.+\\.tsx?$': 'ts-jest',
    '^.+\\.jsx?$': 'babel-jest',  // <-- (1)
  },
  transformIgnorePatterns: [
    'node_modules/(?!(vuetify)/)',  // <-- (2)
  ],
}
In (1) we tell Jest to transform any *.js or *.jsx file with Babel (and Babel is pre-configured for us by Vue Cli), but what’s (2)? transformIgnorePatterns specifies the paths that Jest will ignore when transpiling code and, as I noted earlier, the default includes node_modules. In here we replace the default with a cryptic regex node_modules/(?!(vuetify)/) which means “ignore any path that starts with node_modules/ unless it’s followed by vuetify”:

Notice how the first two paths have a match but the third one doesn’t. This trick will come in handy when we’ll add Storybook but for now.
Running the tests again…

Unknown custom elements are back; but at least it compiles and runs successfully. Vuetify is transpiled in but we still need to register the components manually. There are a few options on how to do that (check their docs for other options); what we will do here is import the required components into Vue’s global scope. Open ./src/plugins/vuetify.ts again and update it to:
import Vue from 'vue';
import Vuetify, { VFlex, VLayout, VContainer, VImg } from 'vuetify/lib';
import 'vuetify/src/stylus/app.styl';

Vue.use(Vuetify, {
  components: { VFlex, VLayout, VContainer, VImg },
  theme: {
    primary: '#ee44aa',
    secondary: '#424242',
    accent: '#82B1FF',
    error: '#FF5252',
    info: '#2196F3',
    success: '#4CAF50',
    warning: '#FFC107',
  },
  customProperties: true,
  iconfont: 'md',
});
Finally, the tests pass:

E2E tests will fail too (yarn test:e2e --headless), but it’s due to ./tests/e2e/specs/test.js looking for a string that isn’t there anymore. E2E tests spin up your real application in a real browser so there’s no code to fix—Vuetify is all set in your app. Fix the test.js to look for the new header:
cy.contains('h1', 'Welcome to Vuetify')and it will become green again.
Let’s recap. We added Vuetify, fixed the unit and e2e tests to deal with a new template and updated Jest to transpile Vuetify’s source code and load it. Our application is functional and we can use various material components. Moving on to the stories!
Storybooks
Storybooks are a brilliant idea: you write your test cases from the designer’s perspective: small components to the full app. You can reason with the data flow, make sure everything looks exactly as your UI designer laid it out in Photoshop, test your components in isolation. Let’s add storybook support!
There’s a Vue storybook plugin but I found sb init gives nicer default template so we’ll use it instead. Run npx -p @storybook/cli sb init and after a few minutes you should get a prompt to run yarn storybook. Let’s do it:

Let’s add a new story! Create ./src/components/LoveButton.stories.ts with the following contents:
import { storiesOf } from '@storybook/vue';

import LoveButton from './LoveButton.vue';

storiesOf('LoveButton', module)
  .add('default', () => ({
    components: { LoveButton },
    template: `<love-button love="vue"/>`,
  }));
(note that you can use LoveButton.stories.js here if you want to be lax with typing in your stories).
TypeScript will warn you about missing types which you can fix with yarn add -D @types/storybook__vue .
Now create ./src/components/LoveButton.vue with the following contents:
<template>
  <v-btn color="red">
    <v-icon>favorite</v-icon>
    {{love}}
  </v-btn>
</template>

<script lang="ts">
import Vue from 'vue';

export default Vue.extend({
  props: ['love'],
});
</script>
Storybook will look into ./stories for your stories by default but it’s often handier to keep stories closer to your components (just like we did). To tell storybook where to look for those update your ./.storybook/config.js:
import { configure } from '@storybook/vue';

const req = require.context('../src', true, /.stories.(j|t)s$/);
function loadStories() {
  req.keys().forEach(filename => req(filename));
}

configure(loadStories, module);
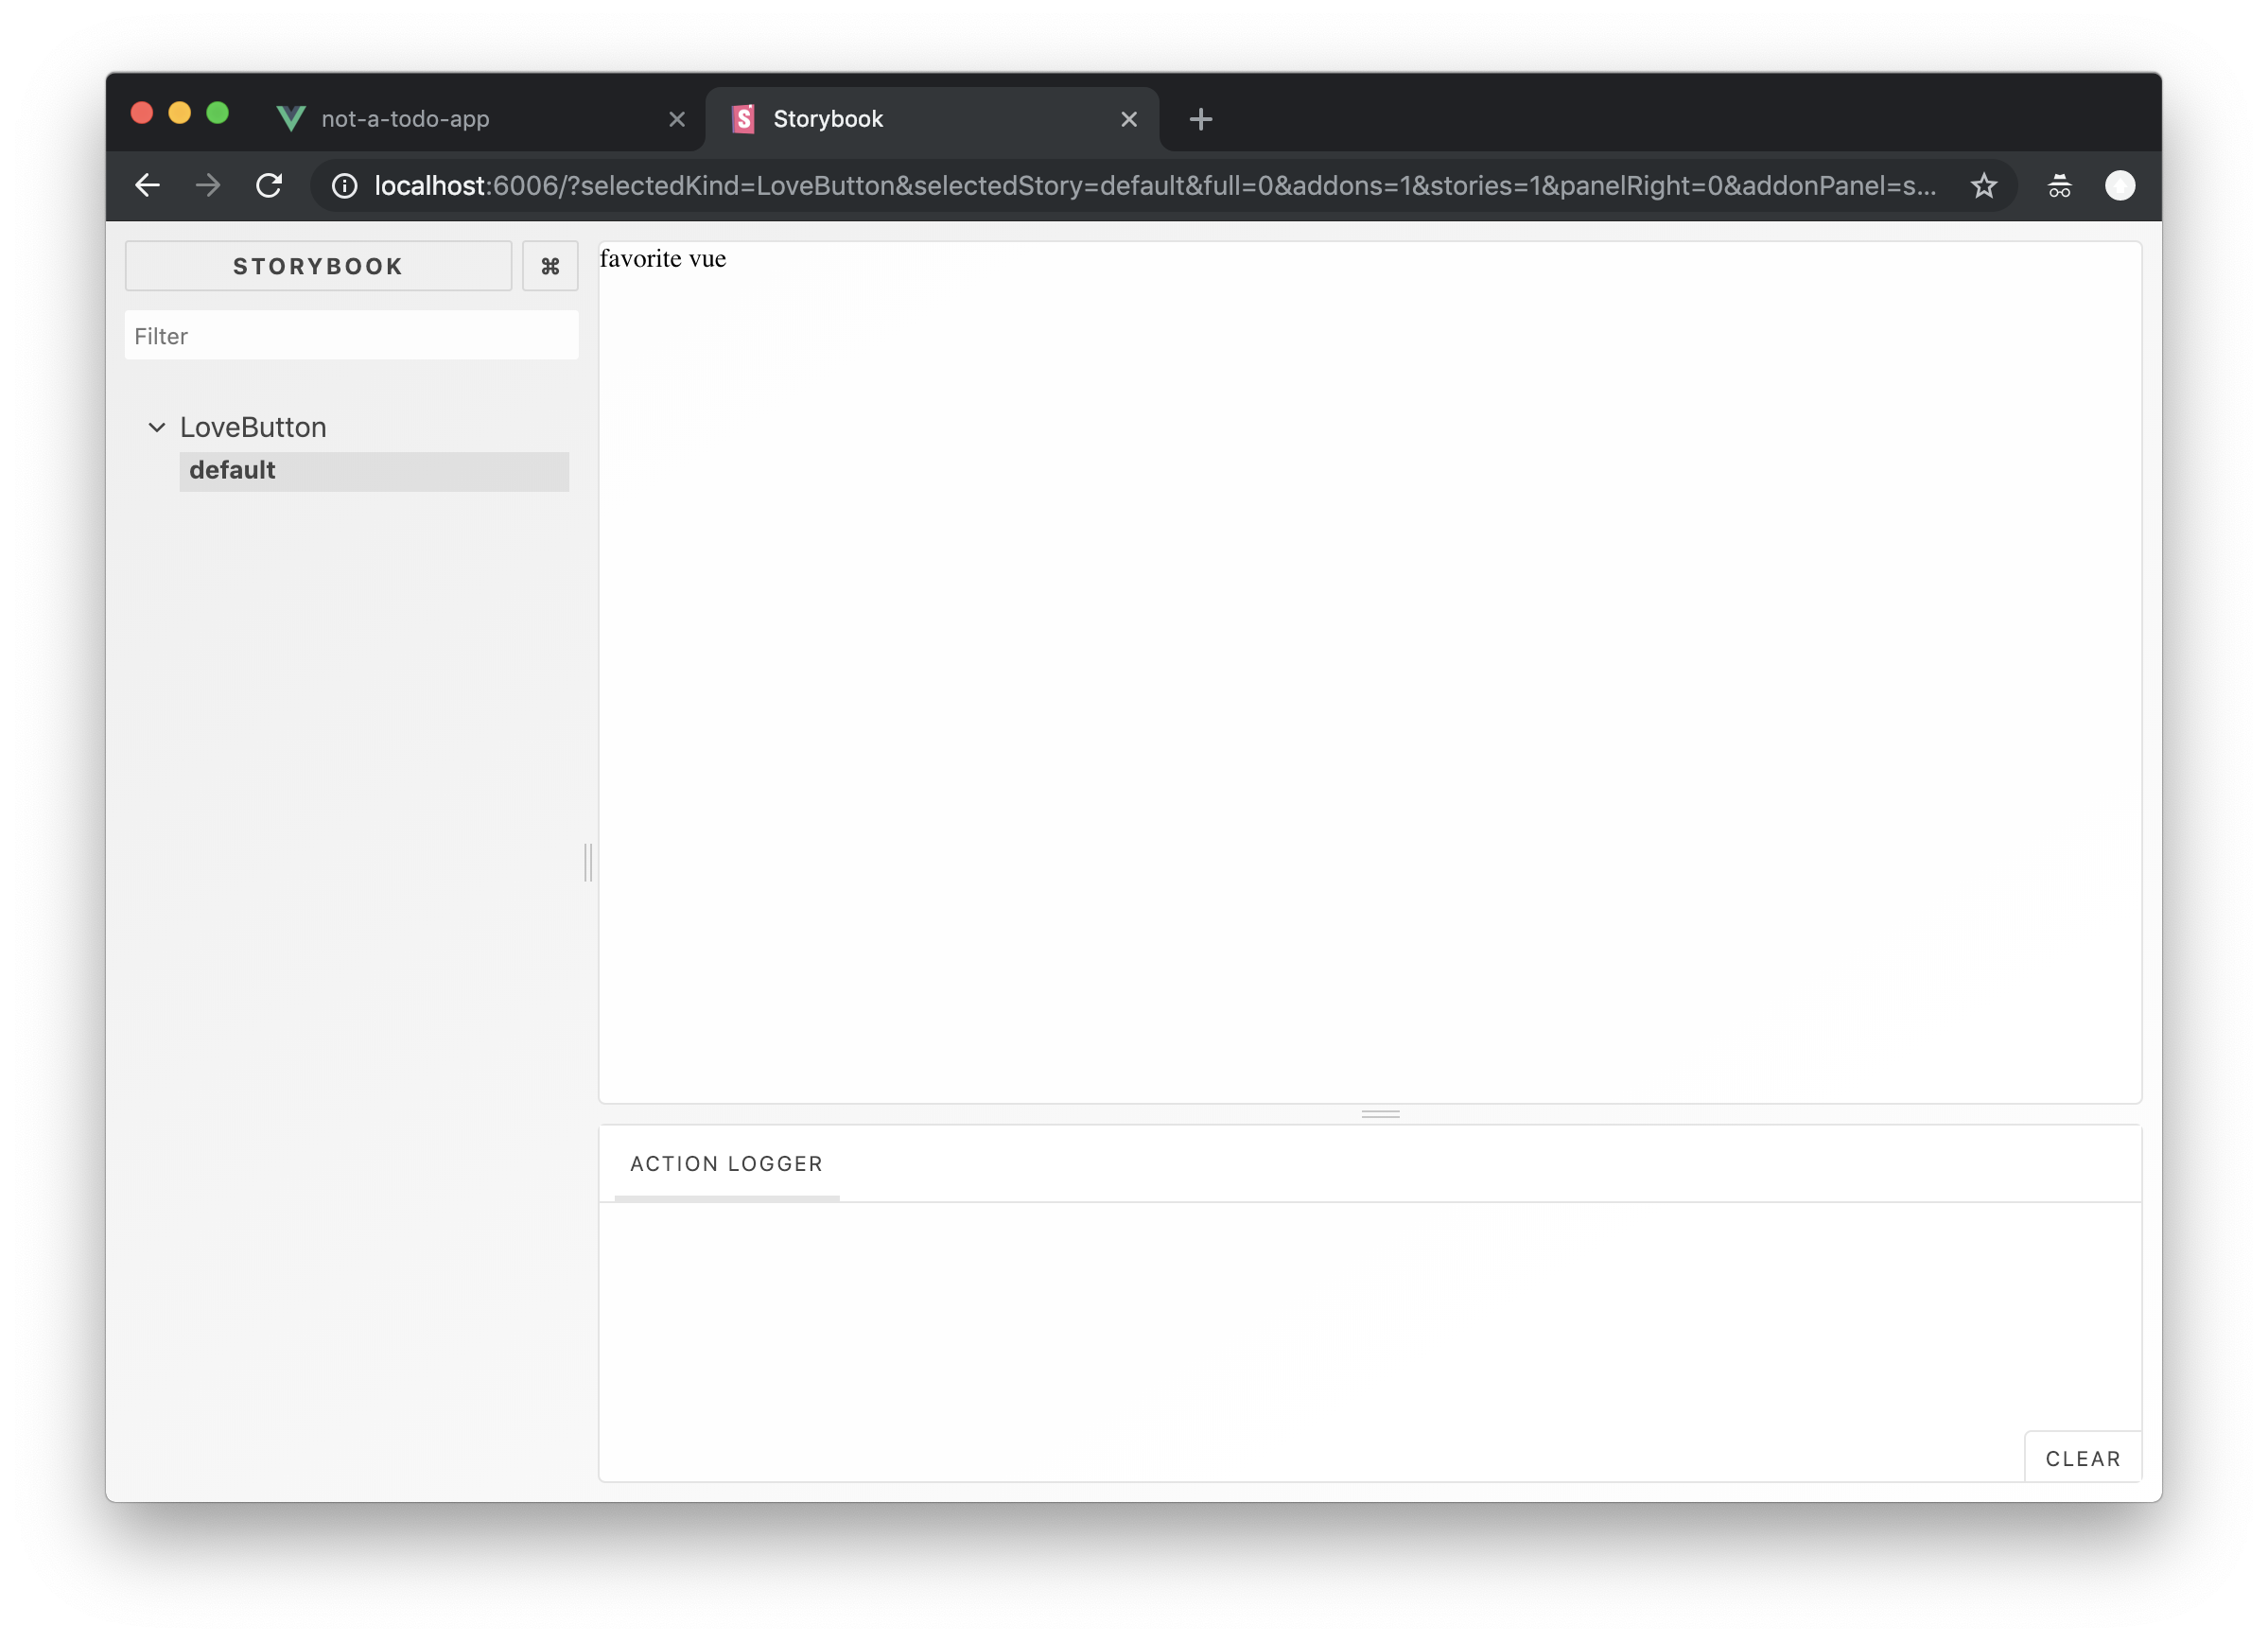
Now, run yarn storybook again:

Not too exciting. The console’s full of warnings:

We know what’s it about now, though. Storybook is another “root” context with it’s own entrypoint; it doesn’t use main.ts and as such doesn’t load Vuetify so we need to tell it to do that. Update ./.storybook/config.js:
import { configure } from '@storybook/vue';

import '../src/plugins/vuetify';  // <-- add this

const req = require.context('../src', true, /.stories.(j|t)s$/);
function loadStories() {
  req.keys().forEach(filename => req(filename));
}

configure(loadStories, module);
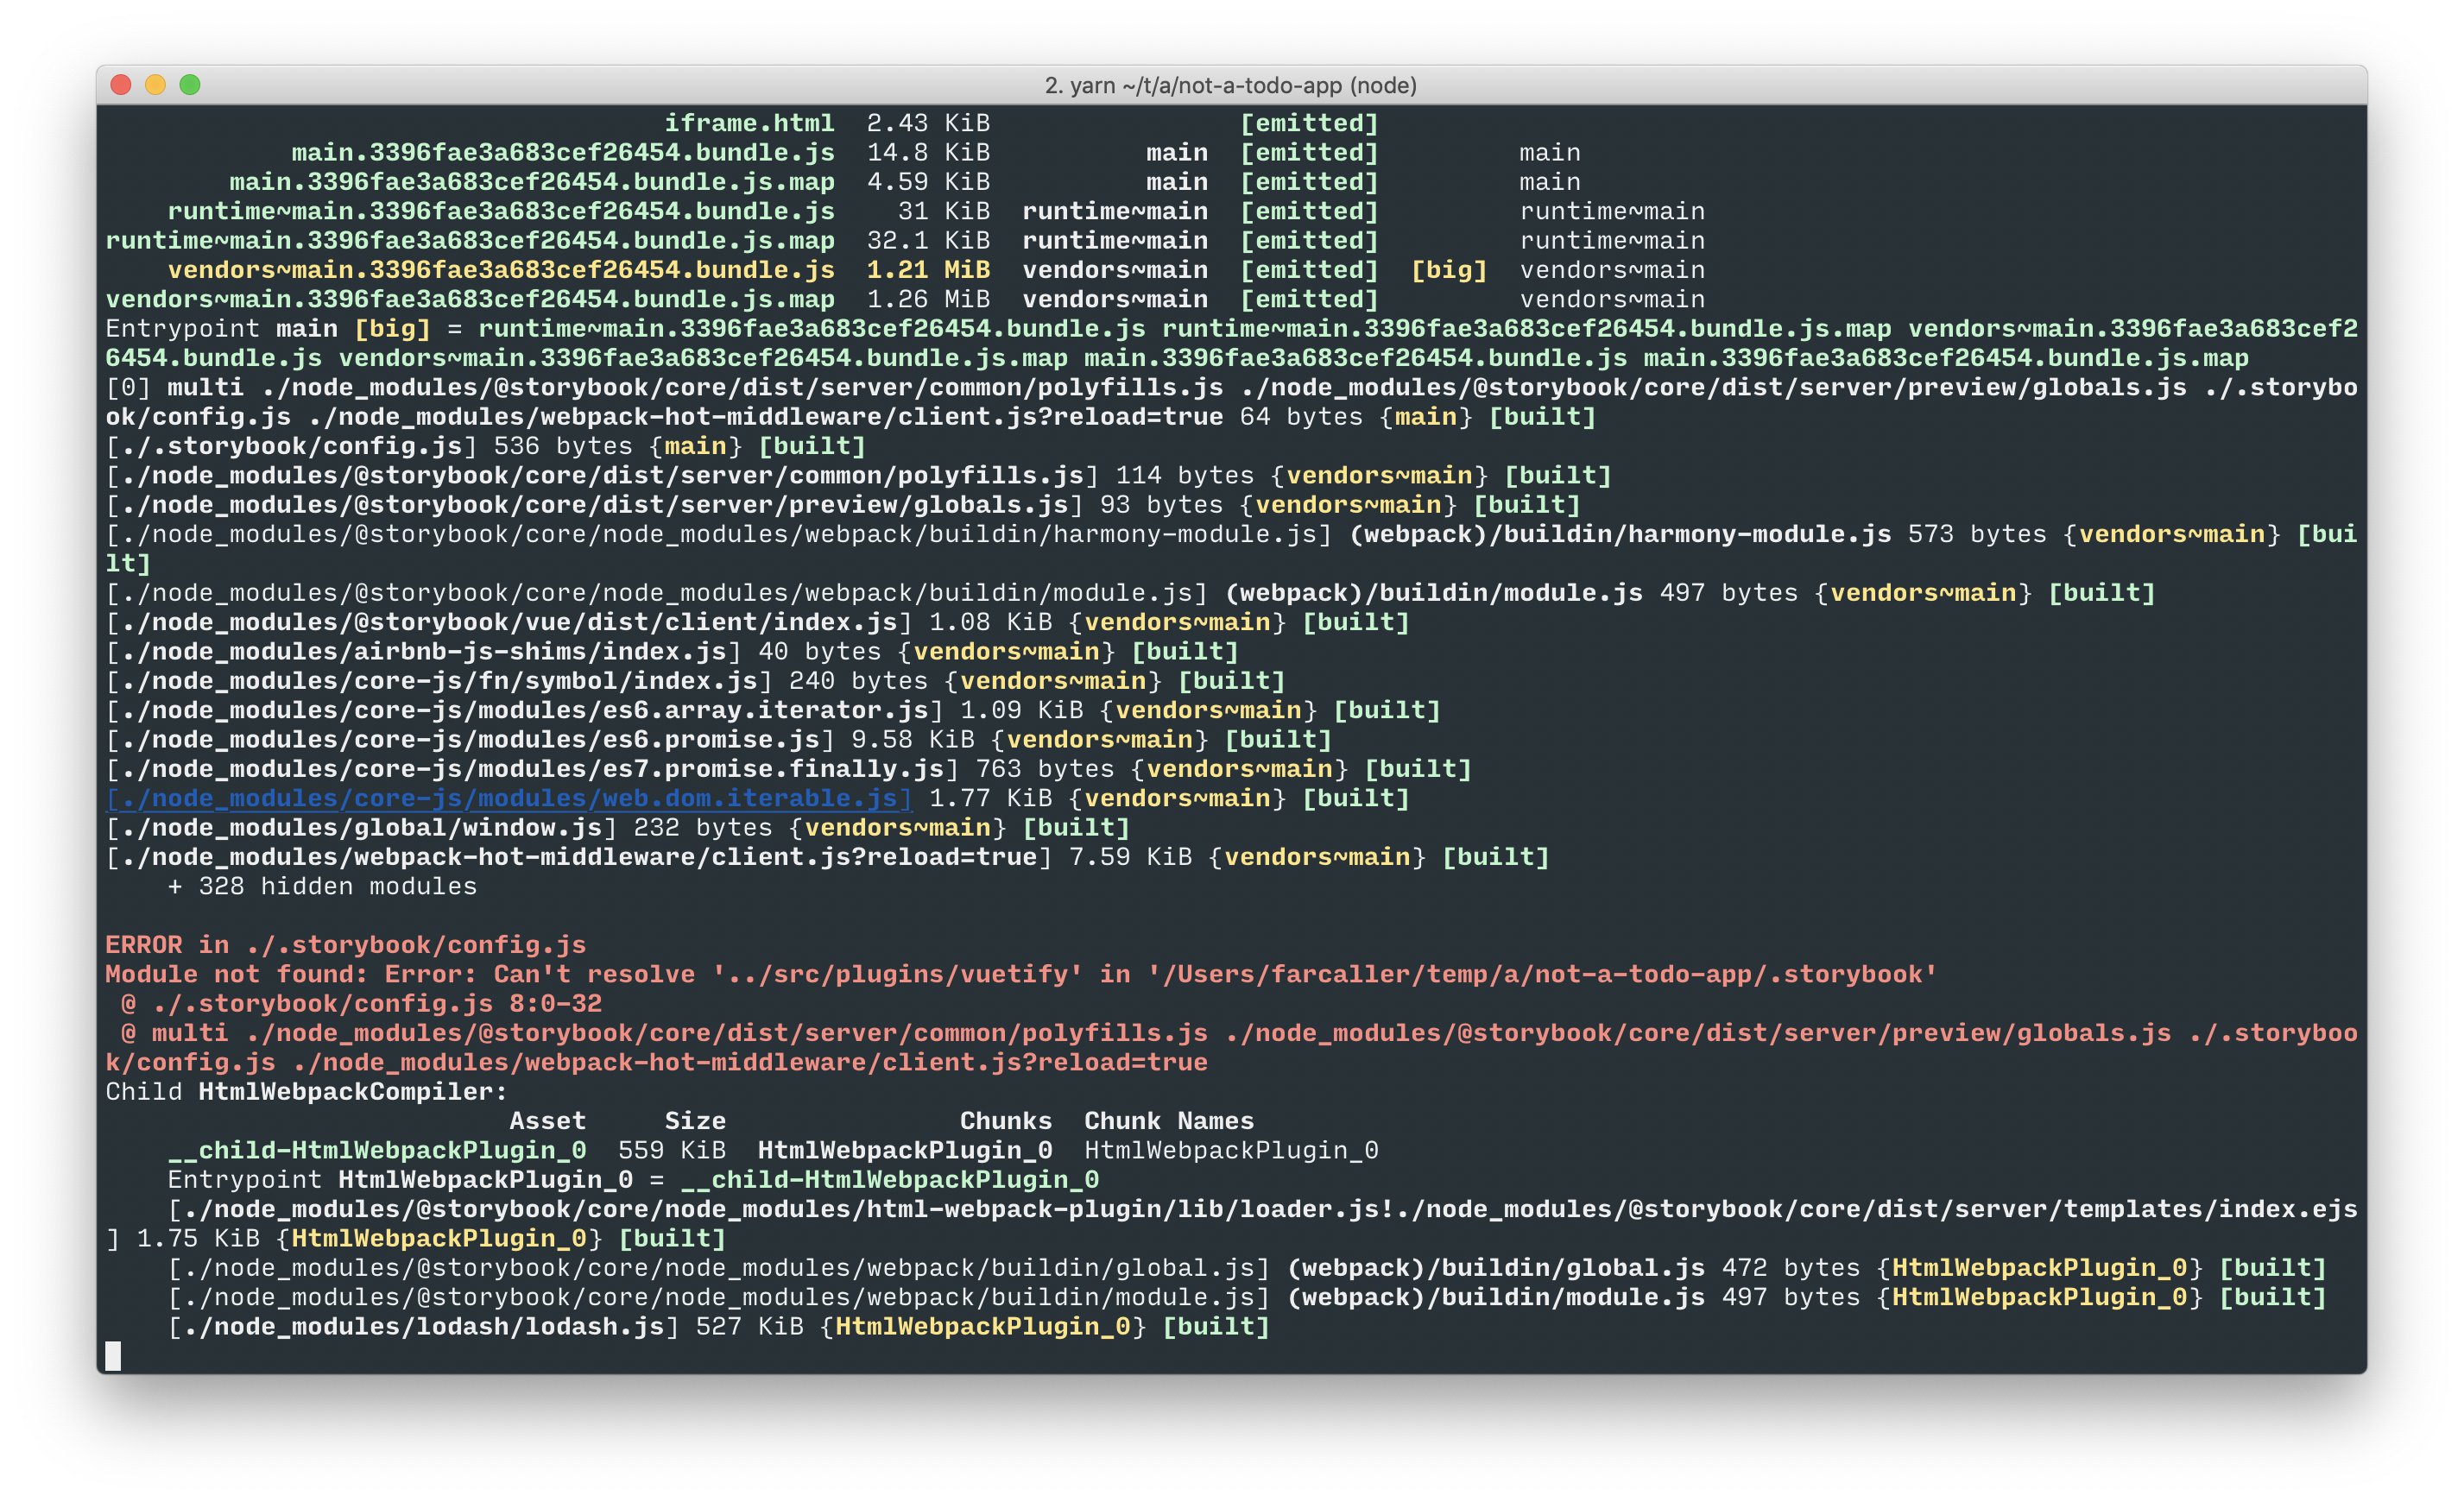
We’re loading our existing configuration again, which makes sure Storybook uses the same theme as the real app. Unfortunately yarn storybook will fail now:

Storybook doesn’t know we use TypeScript so it can’t load the vuetify.ts file. To fix this we need to update Storybook’s own webpack config. Create ./.storybook/webpack.config.js with the following contents:
const ForkTsCheckerWebpackPlugin = require('fork-ts-checker-webpack-plugin');

module.exports = (baseConfig, env, defaultConfig) => {
  defaultConfig.resolve.extensions.push('.ts', '.tsx', '.vue', '.css', '.less', '.scss', '.sass', '.html')

  defaultConfig.module.rules.push({
    test: /\.ts$/,
    exclude: /node_modules/,
    use: [
      {
        loader: 'ts-loader',
        options: {
          appendTsSuffixTo: [/\.vue$/],
          transpileOnly: true
        },
      }
    ],
  });
  defaultConfig.module.rules.push({ test: /\.less$/, loaders: [ 'style-loader', 'css-loader', 'less-loader' ] });
  defaultConfig.module.rules.push({ test: /\.styl$/, loader: 'style-loader!css-loader!stylus-loader' });

  defaultConfig.plugins.push(new ForkTsCheckerWebpackPlugin())

  return defaultConfig;
};
This loads the default config, adds ts-loader for TypeScript files, and also adds support for less and styl (that Vuetify uses).
The warnings are still there, because we need to register the components we used. Let’s use local components this time so you can see the difference (in a real production app it’s much simpler to register them all in vuetify.ts though). Update ./src/components/LoveButton.vue:
<template>
  <v-btn color="red">
    <v-icon>favorite</v-icon>
    {{love}}
  </v-btn>
</template>

<script lang="ts">
import Vue from 'vue';
import { VBtn, VIcon } from 'vuetify/lib';  // <-- add this

export default Vue.extend({
  components: { VBtn, VIcon },  // <-- and this
  props: ['love'],
});
</script>
The storybook refreshes on save:

Marginally better. What’s missing? Vuetify installer added the fonts css straight into ./public/index.html but Storybook doesn’t use that file, so we need to add the missing Material Icons font. Create ./.storybook/preview-head.hmtl with the following (copying from ./public/index.html):
<link rel="stylesheet" href="https://fonts.googleapis.com/css?family=Roboto:100,300,400,500,700,900">
<link rel="stylesheet" href="https://fonts.googleapis.com/css?family=Material+Icons">
(there are other ways to do the same, e.g. using CSS @import).
You need to restart your yarn storybook for it to re-render properly:

Much better but still subpar: the text font is incorrect because Vuetify expects all its components to be nested within v-app which applies the page styles. Surely we can’t add v-app to our button, so let’s decorate the story instead. Update your ./src/components/LoveButton.stories.ts:
import { storiesOf } from '@storybook/vue';
import { VApp, VContent } from 'vuetify/lib';  // <-- add the import

import LoveButton from './LoveButton.vue';

// add the decorator
const appDecorator = () => {
  return {
    components: { VApp, VContent },
    template: `
      <v-app>
        <div style="background-color: rgb(134, 212, 226); padding: 20px; width: 100%; height: 100%;">
          <v-content>
            <story/>
          </v-content>
        </div>
      </v-app>
    `,
  };
};

storiesOf('LoveButton', module)
  .addDecorator(appDecorator)  // <-- decorate the stories
  .add('default', () => ({
    components: { LoveButton },
    template: `<love-button love="vue"/>`,
  }));
You must register VApp and VContent in the global scope, update your ./src/plugins/vuetify.ts:
import Vue from 'vue';
import Vuetify, { VFlex, VLayout, VContainer, VImg, VApp, VContent } from 'vuetify/lib';
import 'vuetify/src/stylus/app.styl';

Vue.use(Vuetify, {
  components: { VFlex, VLayout, VContainer, VImg, VApp, VContent },
  theme: {
    primary: '#ee44aa',
    secondary: '#424242',
    accent: '#82B1FF',
    error: '#FF5252',
    info: '#2196F3',
    success: '#4CAF50',
    warning: '#FFC107',
  },
  customProperties: true,
  iconfont: 'md',
});
Finally, the result is spectacular:

Adding storybook testing
Finally, let’s make sure our stories are covered by unit tests. Add the required dependencies: yarn add -D @storybook/addon-storyshots jest-vue-preprocessor babel-plugin-require-context-hook and create ./test/unit/storybook.spec.js:
import registerRequireContextHook from 'babel-plugin-require-context-hook/register';
import initStoryshots from '@storybook/addon-storyshots';

registerRequireContextHook();
initStoryshots();
Storybook config uses require.context to collect all the sources; that function is provided by webpack and we need to use babel-plugin-require-context-hook to substitute it in Jest. Modify your ./babel.config.js:
module.exports = api => ({
  presets: ['@vue/app'],
  ...(api.env('test') && { plugins: ['require-context-hook'] }),
});
Here we add the require-context-hook plugin if babel runs for unit tests.
Finally we need to allow Jest to transpile storybook’s *.vue files. Remember that lookahead regex in ./jest.config.js? Let’s revisit it now:
module.exports = {
  ...
  transformIgnorePatterns: [
    'node_modules/(?!(vuetify/|@storybook/.*\\.vue$))',
  ],
}
Note that we can’t just add a second line there. Remember that it’s an ignore pattern so if the first pattern ignores everything but Vuetify then storybook files are already ignored by the time Jest gets to the second regex.
The new tests work as expected:

This test will run all your stories and verify them against local snapshots in ./tests/unit/__snapshots__/. To see it in action you can remove <v-icon>favorite</v-icon> from your button component and rerun the test to see it fail:

yarn test:unit -u will update your snapshot for the new button layout.
Recap
In this tutorial we learned how to create a new Vue application with TypeScript enabled; how to add Vuetify library with Material UI components. We made sure our unit tests and e2e tests work as expected. Finally we added support for storybooks, created a sample story and made sure that UI changes are covered by our unit tests.
Closing thoughts
JS is a world in motion, things change constantly, new patters emerge, old get forgotten. This tutorial might be obsolete in only a couple of months so here are a few helpful tips.
Know your tooling. It’s ok to copy-paste lines from stack overflow until your code works but you must research why the change made it work later. Read the docs and make sure you understand what exactly the change does.
If you got something to work even partially—make a commit. Even if it’s a work in progress you’ll have something to revert to in case your further changes will break something.
Experiment! If something doesn’t work the way you think and docs say otherwise, experiment! Frontend world is mostly open-source so dig into the third-party sources and see if you can tinker with your instruments from the inside to add debug logging.

