Create a worker
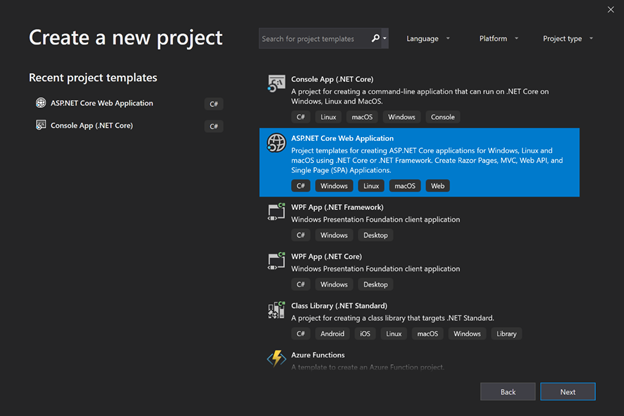
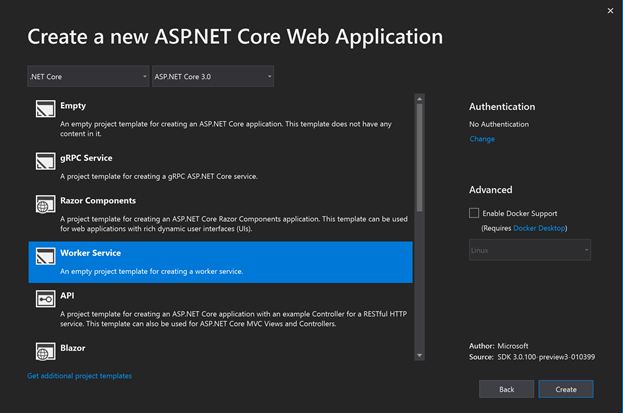
Preview Note: In our preview releases the worker template is in the same menu as the Web templates. This will change in a future release. We intend to place the Worker Service template directly inside the create new project wizard.
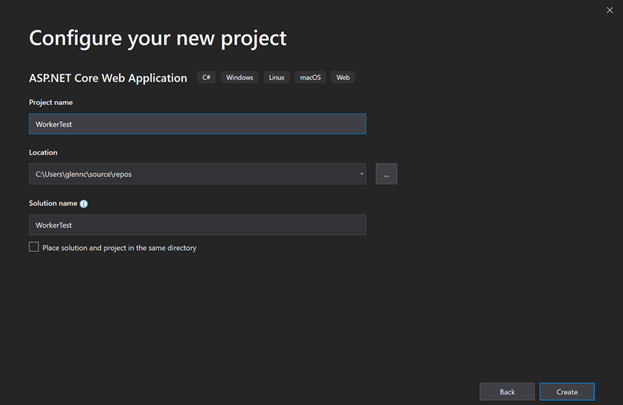
Create a Worker in Visual Studio


Create a Worker on the command line
Run dotnet new worker

Run as a Windows Service
In order to run as a Windows Service we need our worker to listen for start and stop signals from ServiceBase the .NET type that exposes the Windows Service systems to .NET applications. To do this we want to:
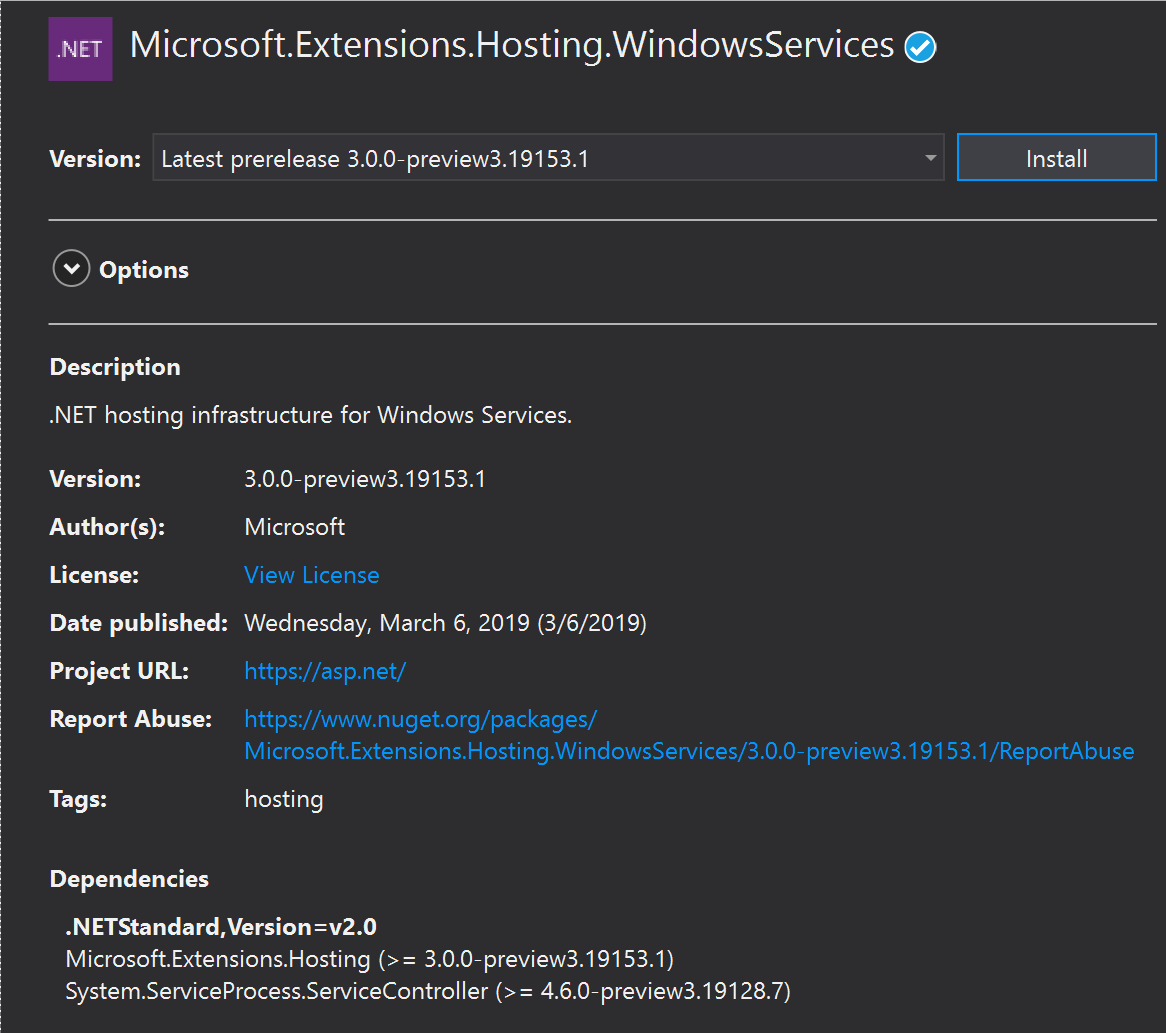
Add the Microsoft.Extensions.Hosting.WindowsServices NuGet package

Add the UseServiceBaseLifetime call to the HostBuilder in our Program.cs
public class Program
{
    public static void Main(string[] args)
    {
        CreateHostBuilder(args).Build().Run();
    }

    public static IHostBuilder CreateHostBuilder(string[] args) =>
        Host.CreateDefaultBuilder(args)
            .UseServiceBaseLifetime()
            .ConfigureServices(services =>
            {
                services.AddHostedService<Worker>();
            });
}
This method does a couple of things. First, it checks whether or not the application is actually running as a Windows Service, if it isn’t then it noops which makes this method safe to be called when running locally or when running as a Windows Service. You don’t need to add guard clauses to it and can just run the app normally when not installed as a Windows Service.
Secondly, it configures your host to use a ServiceBaseLifetime. ServiceBaseLifetime works with ServiceBase to help control the lifetime of your app when run as a Windows Service. This overrides the default ConsoleLifetime that handles signals like CTL+C.
Install the Worker
Once we have our worker using the ServiceBaseLifetime we then need to install it:
First, lets publish the application. We will install the Windows Service in-place, meaning the exe will be locked whenever the service is running. The publish step is a nice way to make sure all the files I need to run the service are in one place and ready to be installed.
dotnet publish -o c:\code\workerpubThen we can use the sc utility in an admin command prompt
sc create workertest binPath=c:\code\workerpub\WorkerTest.exe
For example:

Security note: This command has the service run as local system, which isn’t something you will generally want to do. Instead you should create a service account and run the windows service as that account. We will not talk about that here, but there is some documentation on the ASP.NET docs talking about it here: https://docs.microsoft.com/en-us/aspnet/core/host-and-deploy/windows-service?view=aspnetcore-2.2
Logging
The logging system has an Event Log provider that can send log message directly to the Windows Event Log. To log to the event log you can add the Microsoft.Extensions.Logging.EventLog package and then modify your Program.cs:
public static IHostBuilder CreateHostBuilder(string[] args) =>
    Host.CreateDefaultBuilder(args)
        .ConfigureLogging(loggerFactory => loggerFactory.AddEventLog())
        .ConfigureServices(services =>
        {
            services.AddHostedService<Worker>();
        });
Future Work
In upcoming previews we plan to improve the experience of using Workers with Windows Services by:
- Rename UseWindowsServiceBaseLifetime to UseWindowsService
- Add automatic and improved integration with the Event Log when running as a Windows Service.
Conclusion
We hope you try out this new template and want you to let us know how it goes, you can file any bugs or suggestions here: https://github.com/aspnet/AspNetCore/issues/new/choose


